Journey Map
Using customer narratives and data, “map” what they are doing, thinking, feeling and interacting with over a set period of time.
Phases
Suggested Time
1 hour
Participants
Core team, subject matter experts
Why do it?
During Discovery, a journey map can help arrange individual data points into chronological order. During Framing, the team can return to a journey map to identify the point in the journey when a proposed solution will be used by a customer.
When to do it?
The best time to do a Journey Map is after a few rounds of user research, when synthesizing data into insights. Alternatively, Journey Maps can be used to align the stakeholder’s vision of a Customer Journey, before starting User Research. During Framing, the map can be modified to match a “future” state where the proposed solution exists.
What supplies are needed?
- Whiteboard or digital version like Miro
- Dry erase markers
- Sticky notes
- Markers
- Small sticky dots
- Persona(s)
How to Use this Method
Sample Agenda & Prompts
-
Identify which users journey the team is mapping. Leverage existing Personas and if multiple choose the most important one to start
-
Map alone, together (10 minutes)
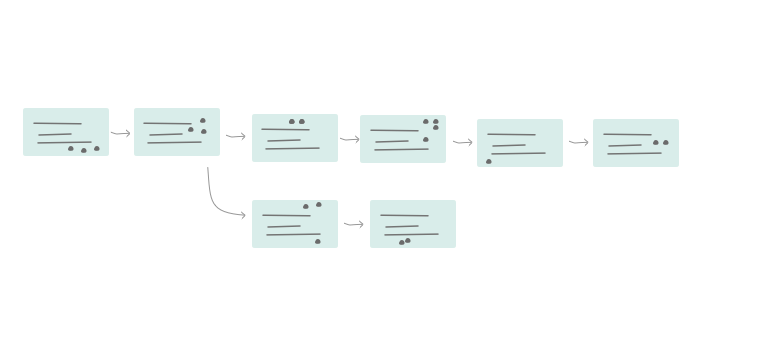
- Have each person create a user journey in front of them, separating each step into individual sticky notes. This looks like a horizontal timeline of no-more-than 10 sticky notes

-
Share individual journeys with the team (10 minutes)
- One at a time, each person sticks their timeline on the whiteboard. Each timeline should stack beneath the last so all are aligned from the first step onward

-
Dot voting (10 minutes)
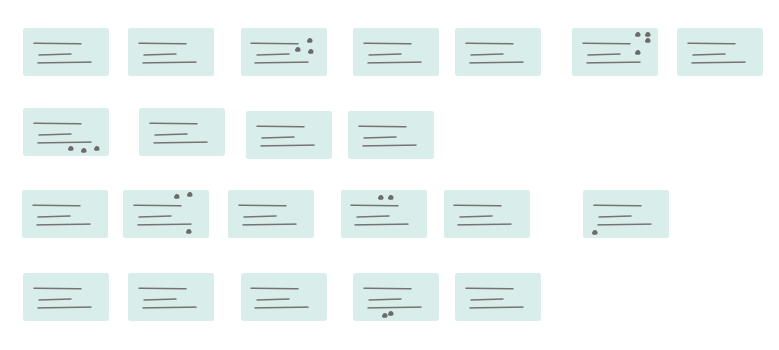
- Have everyone review each others journey and ask any clarifying questions. After questions, everyone is given dot stickers to vote on steps they think are interesting or important
-
Consolidate into one big story (10 minutes)
- Throw out all sticky notes without dots
- Combine duplicate stickies and rearranges the stacked timelines into one large timeline
- Draw arrows between stickies and mark the amount of time between steps, if possible. If there are multiple “routes”, you can split the timeline up vertically

-
Mark customers emotions and pain points (10 minutes)
- As a group, read through the finished timeline and mark points in time that the persona experiences a “pain point” (use a different color marker for this on the whiteboard or on sticky notes)
- If you have the data to support it, track the persona’s emotions throughout the journey using a horizontal line that rises and falls in accordance with the pain points
-
Identify opportunities along the journey (10 minutes)
- Have the team read through the completed journey map one more time, asking all participants to write “how might we” statements on a sticky note, whenever they identify a moment for intervention/improvement.
Success/Expected Outcomes
At the end of a Journey Map the team will have a shared holistic view of a Persona’s experience. The process reveals opportunities to address user pain points and prevents misalignment during the “framing” process.
Facilitator Notes & Tips
- Create one Journey Map per Persona. If there are other Personas to consider, map them as touch points from a single Personas perspective.
- To understand more detail and complexity consider using a Service Blueprint to map a product/service’s “backstage actions” and “support processes” to an individual customer journey.
Preceding
Following
Real World Examples