Deploy from a Private Helm Repository Using Kubeapps
Raquel Campuzano
Kubeapps is a web-based UI for deploying and managing applications in Kubernetes clusters. Kubeapps includes a built-in catalog of Helm charts and operators continuously maintained and up to date. Now Kubeapps also provides support for private Helm repositories with private Docker images. There is an option of associating Docker credentials to an application repository so that Kubeapps can ensure they are used to pull any matching private images within a chart. This option is really useful for enterprise development team since it allows them to have more granular access control as well as a known good source of images.
Kubeapps officially supports the following Helm repositories:
This tutorial shows you how to create a private project in Harbor, push a customized Helm chart to your registry and create an application repository to have your chart ready from the Kubeapps UI to be deployed.
Watch the following video or keep reading this tutorial to learn more:
Assumptions and prerequisites
This guide assumes that:
- You have a Docker environment installed and configured. Learn more about installing Docker.
- You have a Docker Hub account. Register for a free account.
- You have a Kubernetes cluster. Check out our Getting Started with Kubernetes guides for an easy way to get started with one.
- You have administrator access to a preexisting installation of Harbor.
- You have Helm installed in your cluster.
- You have Kubeapps installed in your cluster and are logged into the Kubeapps UI with admin credentials.
Step 1: Create a private project in Harbor
The first step is to create a project in Harbor. To do so:
-
Log in to Harbor.
-
In the “Projects” section, click “+ New Project”.
-
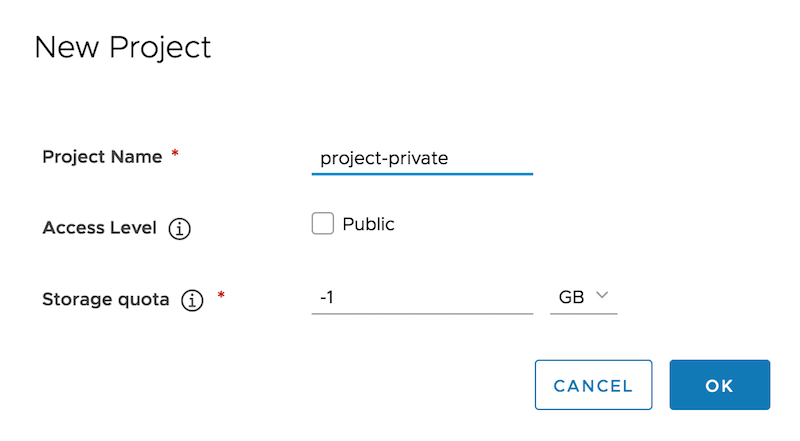
In the resulting screen, give a name to your project. This should be private so don’t activate the “Public” check. To get an unlimited storage quota, set that value as -1. Click “OK” to proceed.
Step 2: Pull the Docker image and push it to your private Harbor Registry
Next, pull the Docker image of the chart you want to add to your private repository. Then, you need to push it to Harbor to make it available in your project. Follow these steps:
-
Execute the following command to obtain the latest Bitnami Ghost image:
docker pull bitnami/ghost:3.13.2-debian-10-r0 -
Tag the image by executing the command below. Remember to replace the
HARBOR_DOMAIN_NAMEplaceholder with the domain name where Harbor is installed.docker tag docker.io/bitnami/ghost:3.13.2-debian-10-r0 HARBOR_DOMAIN_NAME/project-private/ghost:3.13.2-debian-10-r0 -
Login in to Harbor.
docker login HARBOR_DOMAIN_NAME -
Push the image to your registry by executing this command:
docker push HARBOR_DOMAIN_NAME/project-private/ghost:3.13.2-debian-10-r0 -
You should see an output message similar to this:
The push refers to repository [harbor.bkpr-kubeapps-gke.nami.run/project-private/ghost] 325a01bfb407: Preparing 17d308e7f8c1: Preparing 0a621af6678f: Preparing 2e366bd4c478: Preparing 315ad5c0230e: Preparing 1cfb963e6dd2: Waiting 4e78eb629a01: Waiting f2e5c6cb0141: Waiting 8bce1f8ba802: Waiting 7d1d696c2212: Waiting 9f729ba7c732: Waiting e048dd4e8543: Waiting 3.13.2-debian-10-r0: digest: sha256:9121f532fbe28f8e6d4cb11bf542374689c4595378ef83adeda5bff46731d972 size: 2839 -
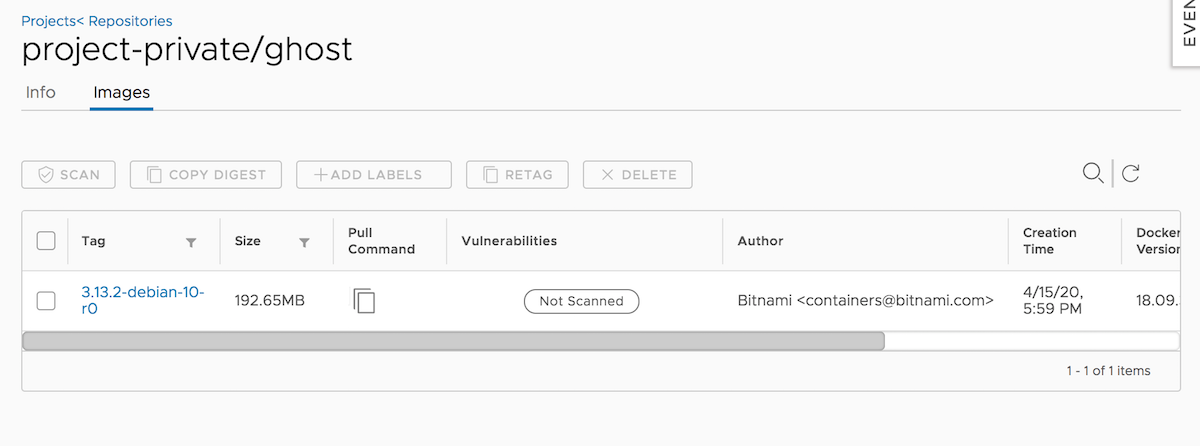
Navigate to the Harbor UI and in your project, select the tab “Repositories”. You should see the repository that contains the image you just pushed. Click on it to check image details:
Step 3: Enable a Robot Account in your project
Next step is to enable a Robot Account in your project with access to pull both Helm charts from the private repositories as well as Docker images in the private project. To do so:
-
From the Harbor UI, navigate to the “Robot Account” tab in your project and click “+ New Robot Account”.
-
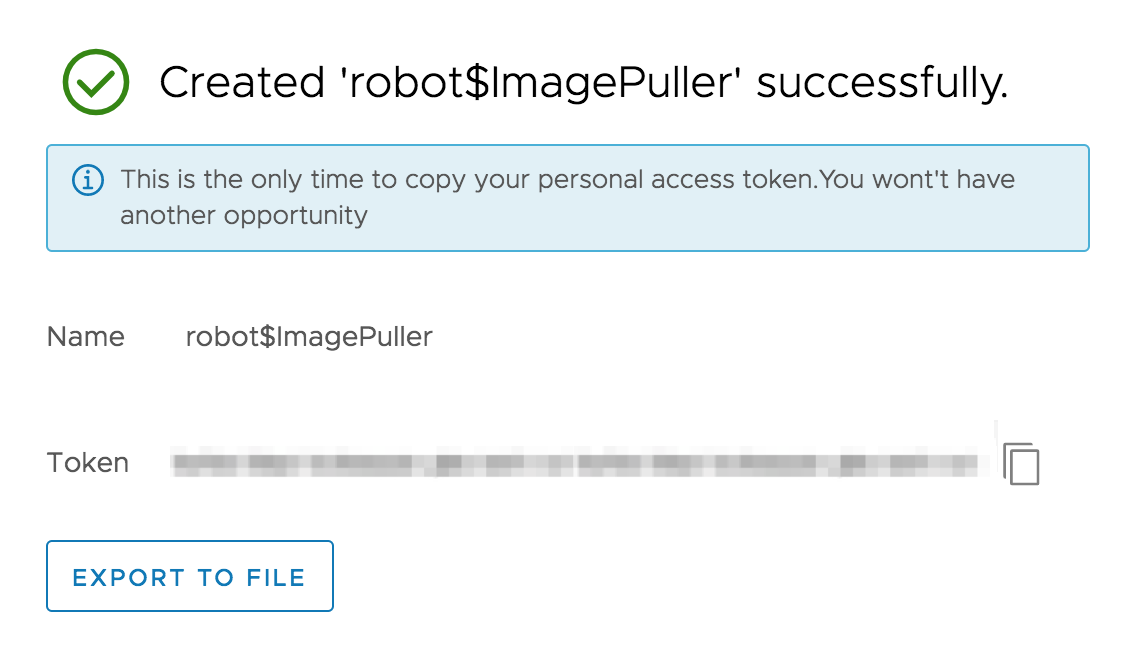
In the resulting window, give it a name, a description (optional) and in the “Permissions” section, activate the “Pull” check in the Helm Chart line. Click “Save” to proceed.

Once it is created, remember to copy the token in a safe place or export it to file.
Step 4: Customize your Helm chart and push it to your private Harbor Registry
-
Get the Bitnami Ghost Helm chart and change to the chart’s directory by executing the following command:
helm fetch bitnami/ghost --untar && cd ghost -
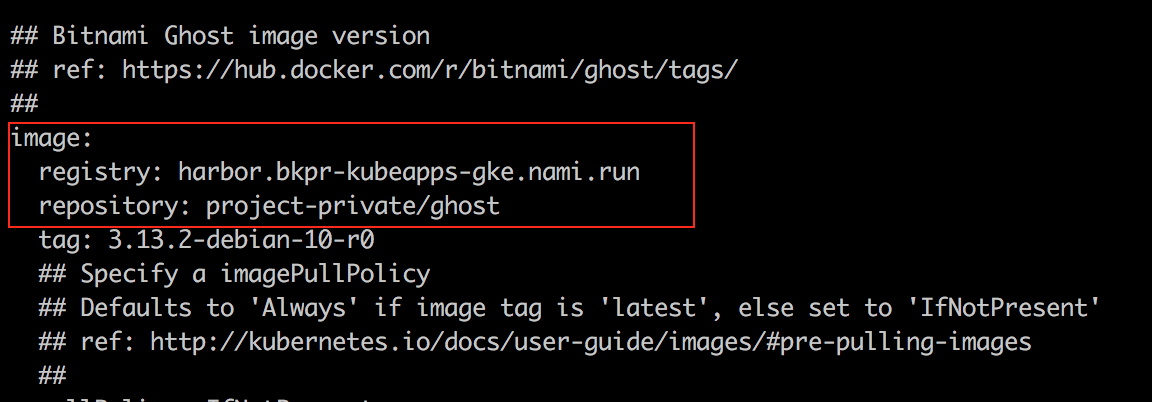
Edit the values.yaml file of the chart of the chart so that the image.registry and image.repository value point to your registry and repository path respectively:
-
Once you have edited those values, package you chart by running:
cd ../ && helm package ./ghostYou will see an output message similar to this: “Successfully packaged chart”.
-
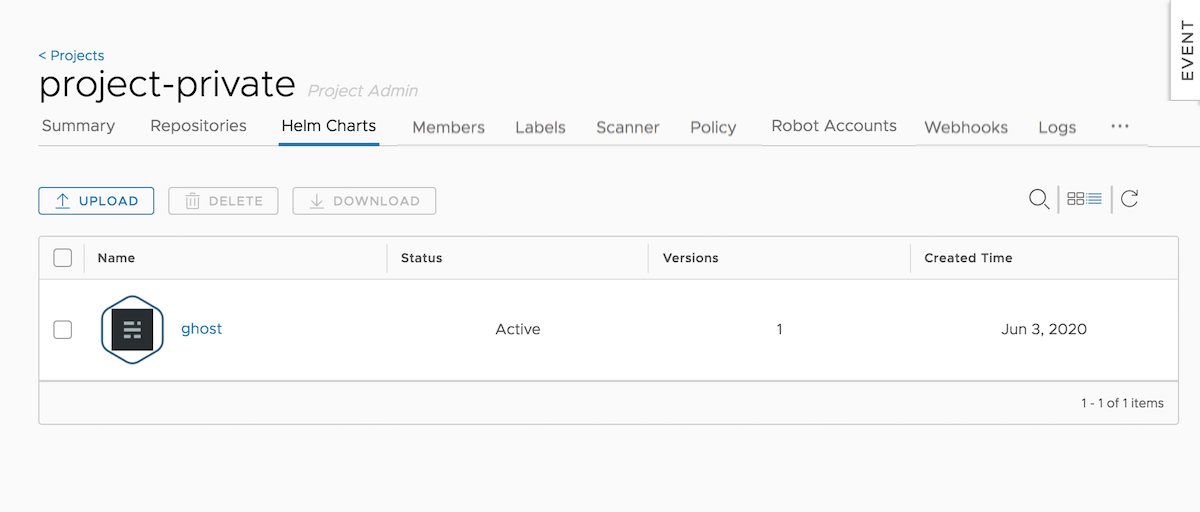
From the Harbor UI, navigate to the “Helm Charts” tab and click “Upload”. Browse the resultant tgz file of your packaged chart and click “Upload”. You will see your Helm Chart uploaded in a few minutes:
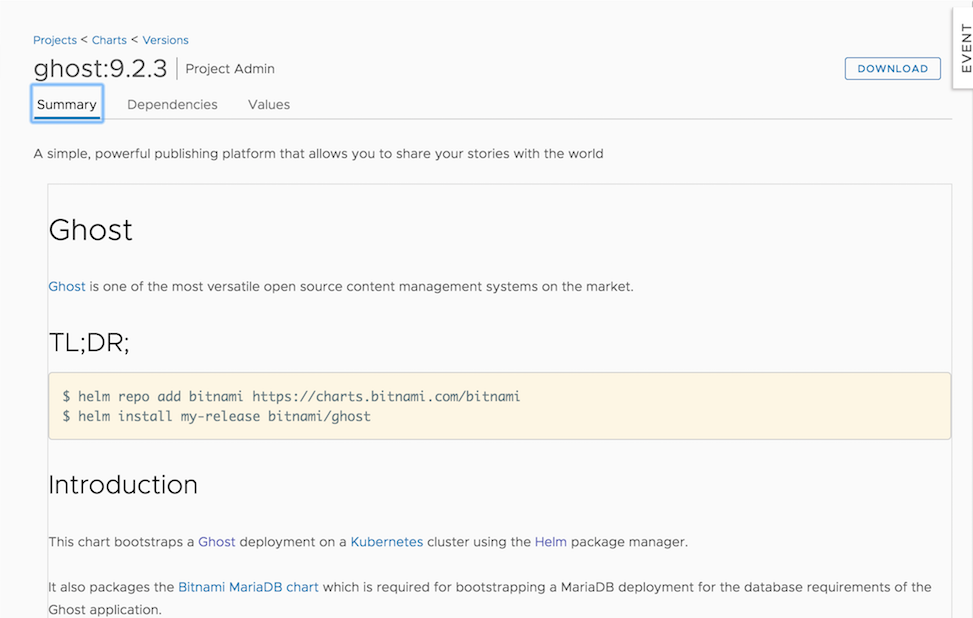
You can click on it to check more information about the chart:
Now that you have both the Ghost image and its Helm chart available in your Harbor private repository, it is time to create an application repository in Kubeapps to start deploying your charts on Kubernetes from its dashboard.
Step 5: Create an application repository to enable your Harbor’s private repository in Kubeapps
-
Log in to Kubeapps.
-
Select the namespace where the repository (and the secret) are to be created. This should be different from the kubeapps namespace.
-
From the menu button in the top right corner, select the “App Repositories” option, then click the “Add App Repository” button.
-
In the resulting screen enter the following information:
-
Application repository name
-
URL: private repository URL
-
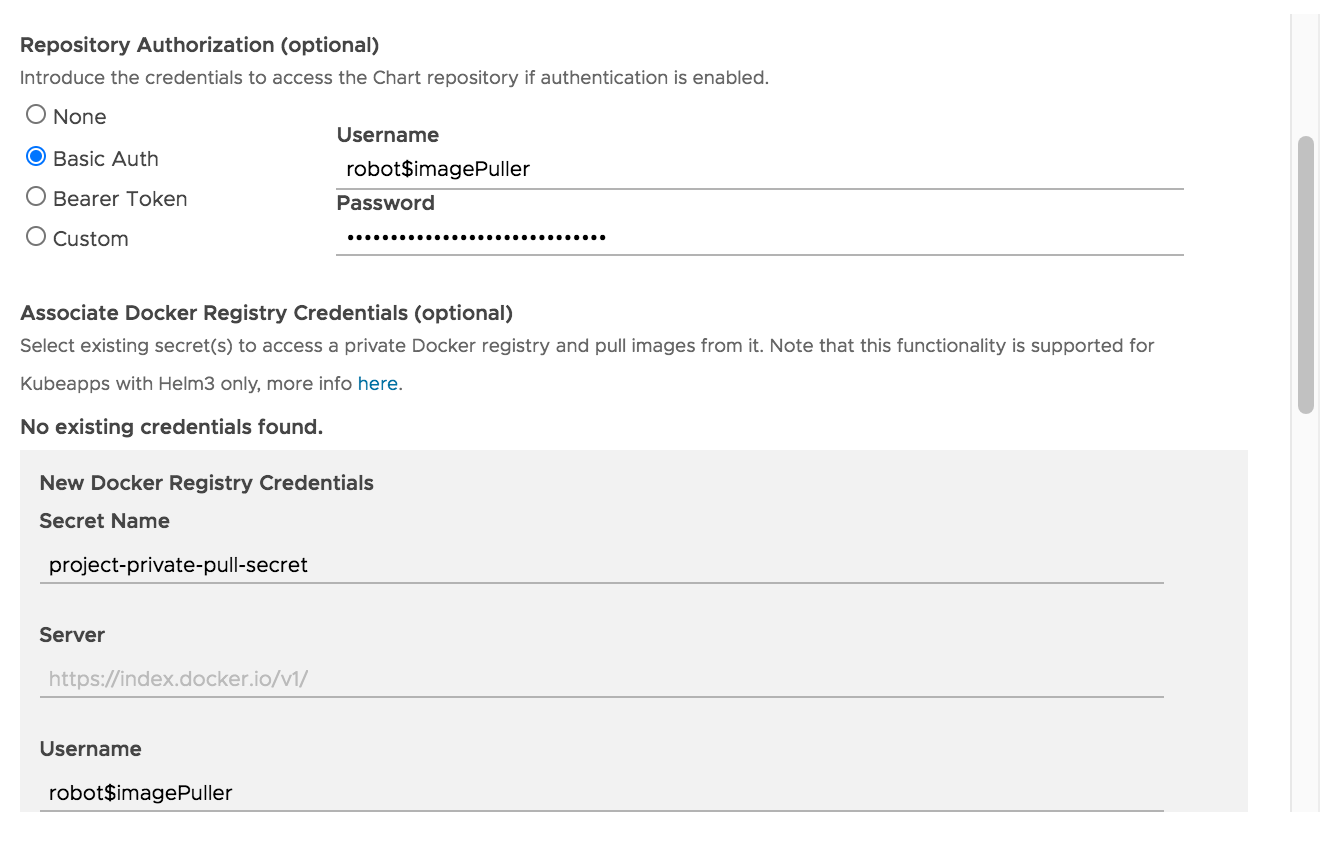
Repository Authorization: select the “Basic Auth” option and enter as “Username” the name you gave to the Robot Account created in Harbor, and as “Password”, the token you obtain at the time of the creation. This way, Kubeapps will be able to see the charts you have pulled into your Harbor repository.
-
Associate Docker Registry Credentials: click “Add New Credentials” to add the credentials that will allow Kubernetes to pull images from your private repository. Add the values below, then click “Submit”
- Secret name
- Server: Harbor’s server domain
- Username: in this case, as you created a Robot Account, use its name as username
- Password: use the Robot Account token as password
-
-
Click the “Install Repo” button to finish the process. You will see your new application repository in the list of existing application repositories in your namespace.
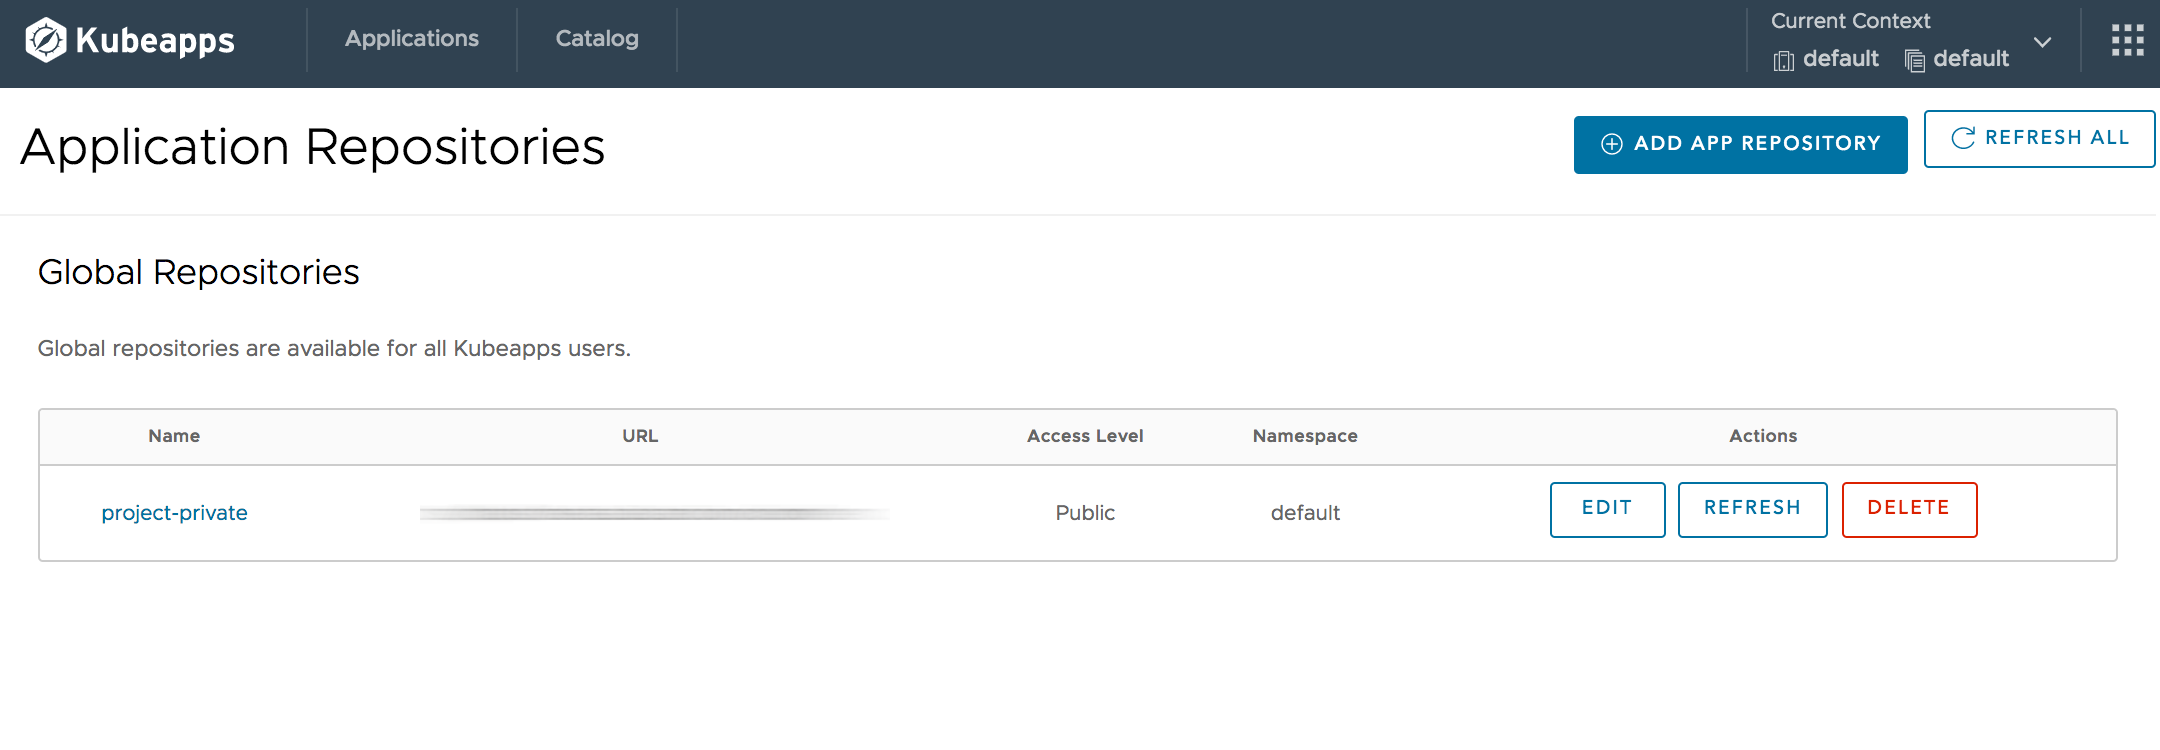
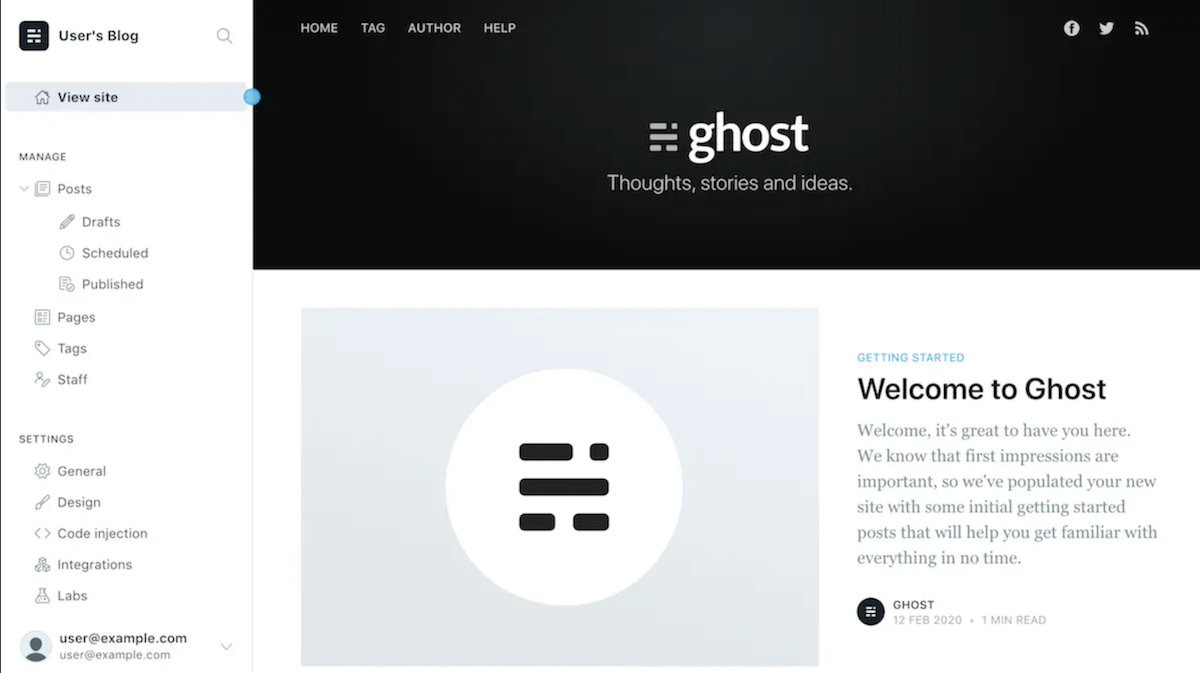
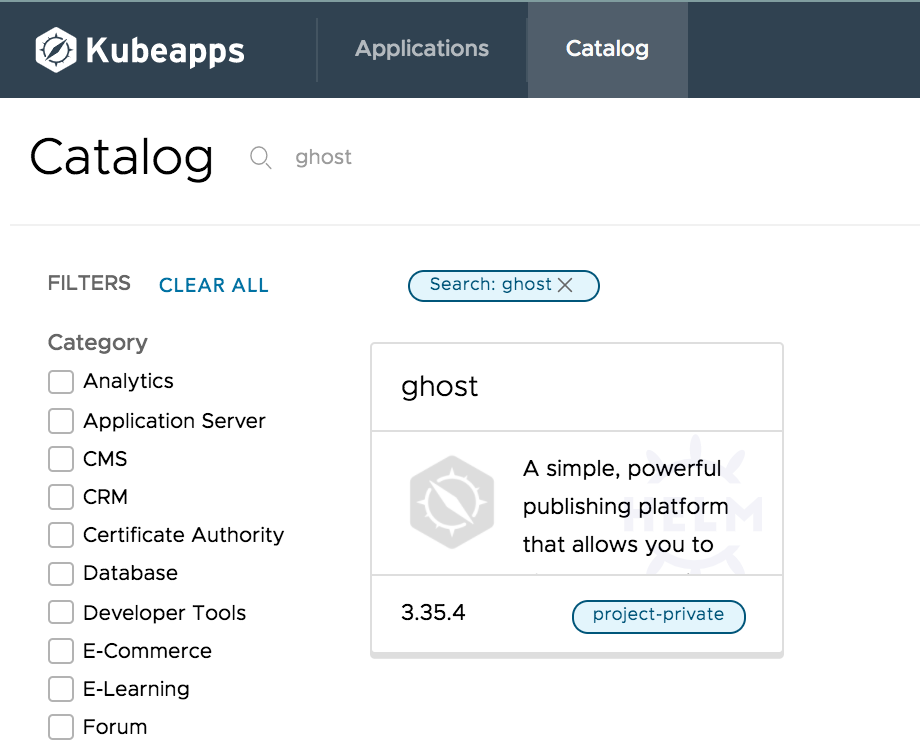
If you click the repository link, you will be redirected to its catalog. You should see your Ghost chart there ready to be deployed:
Step 6: Deploy your custom Ghost from the Kubeapps UI
Finally, you are able to install your custom application from your private registry on Kubernetes using the Kubeapps UI.
-
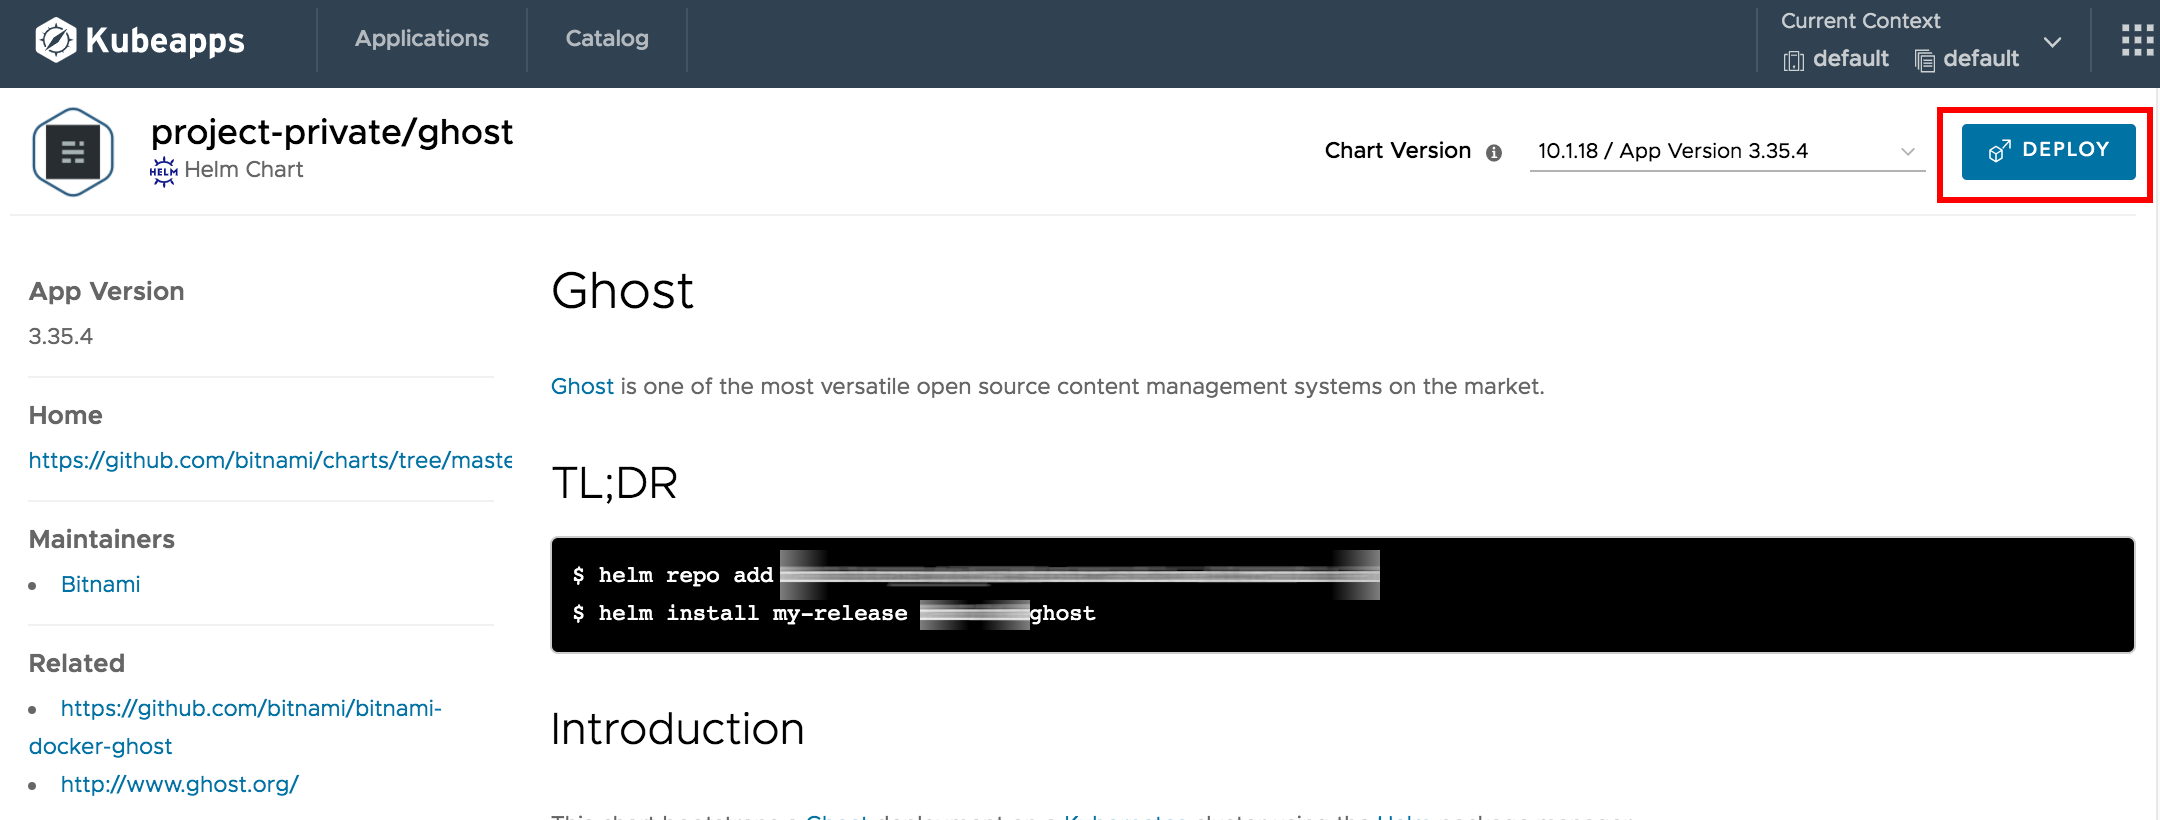
In the application repository catalog you just created, click the Ghost entry to go to the chart page.
-
On the resulting screen, you can learn about the Ghost chart, the repository where it is located, review older versions, and any related links. Click “Deploy” to deploy the chart:
-
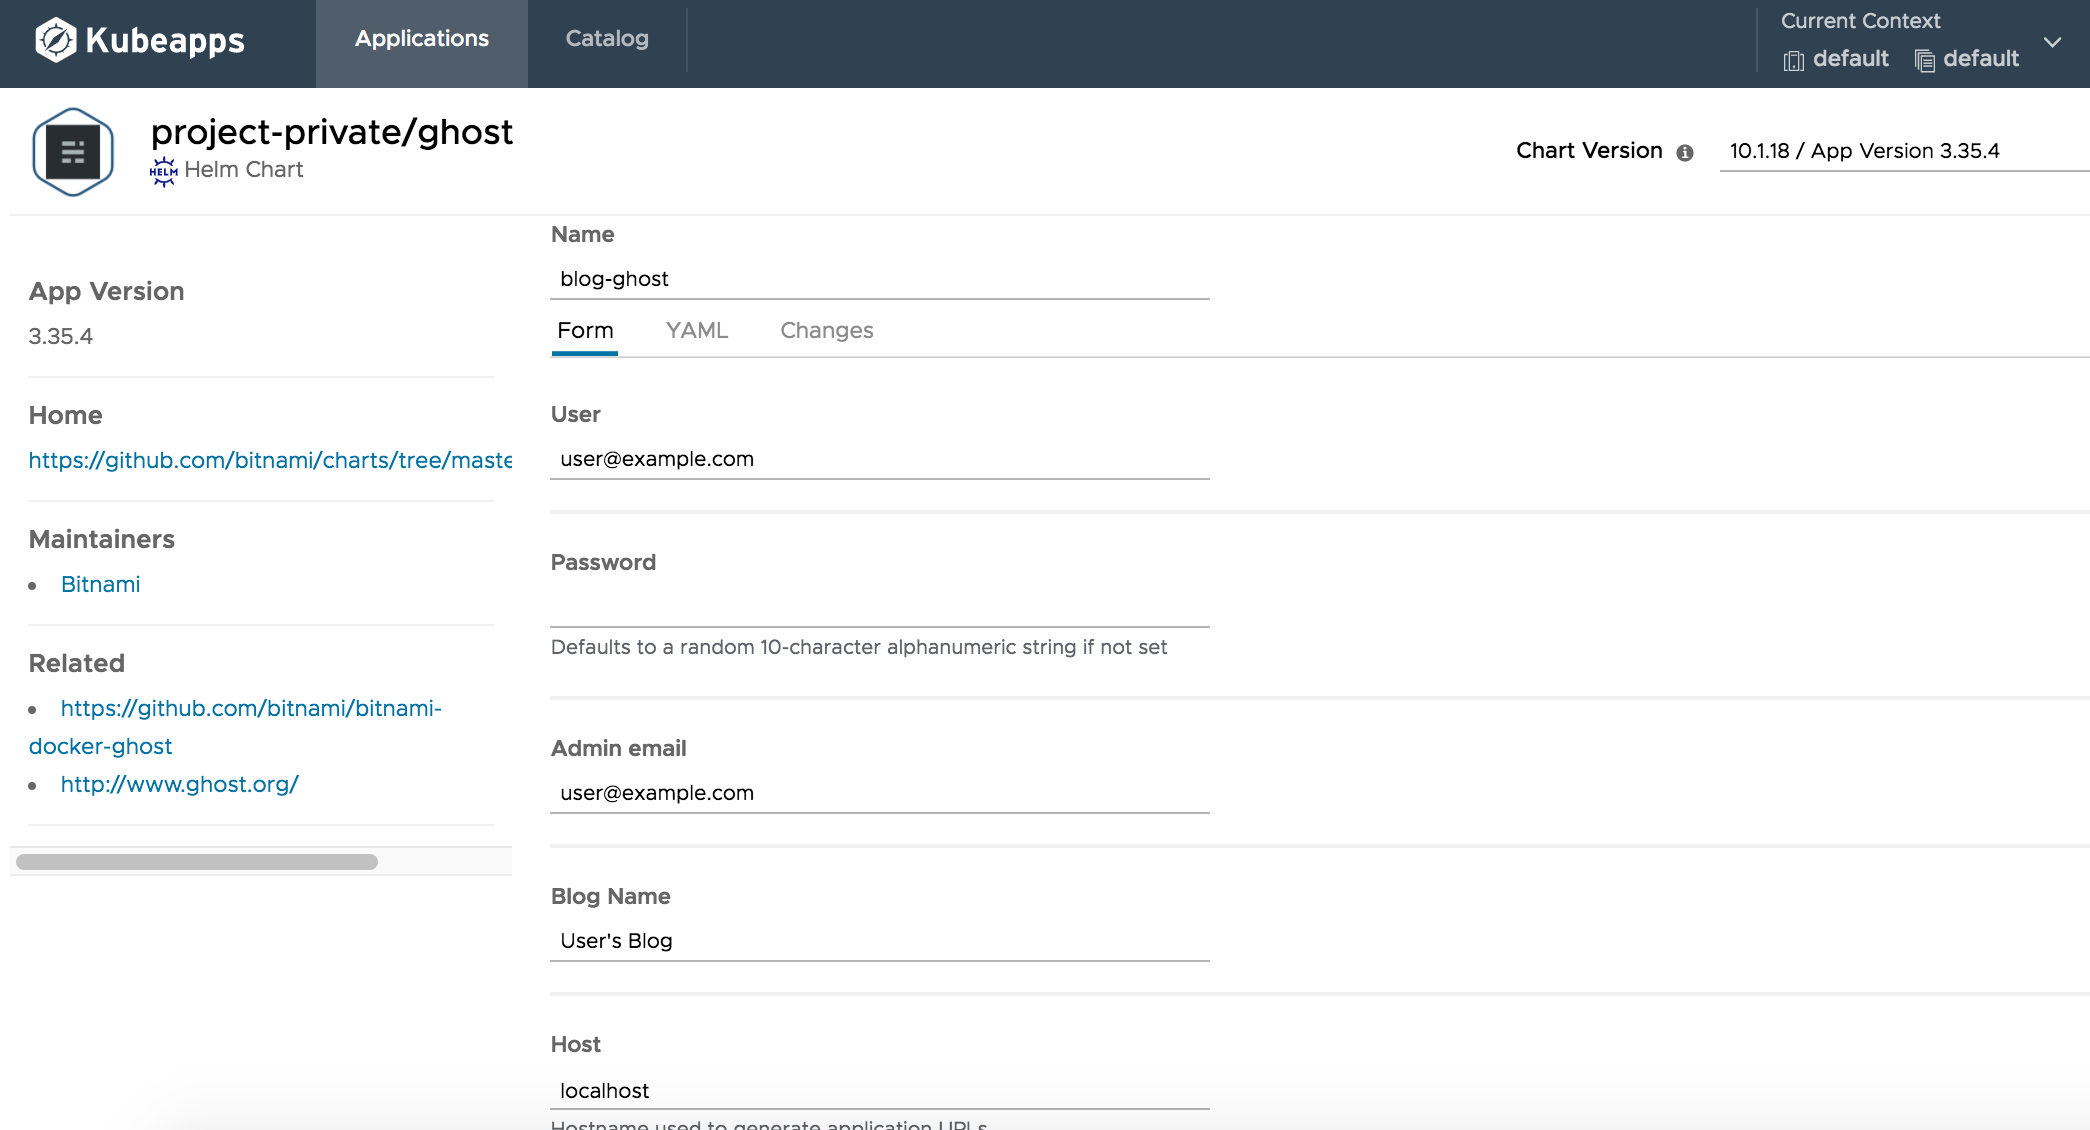
This will take you to a page where you can configure your Ghost deployment. You can use either the “Form” or the “YAML” tab to customize your deployment as you want: give your chart a name, change the version you want to deploy, add an admin password (if not, a random 10-character alphanumeric string will be set), or configure Helm values.
ImportantThe Ghost chart requires a resolvable host. Specify it in the “Hostname” section.
-
Click “Submit” to start the application deployment. Once submitted, you will be redirected to a page that describes the state of your deployment. The status will be “Deploying” until Ghost is up and running.
-
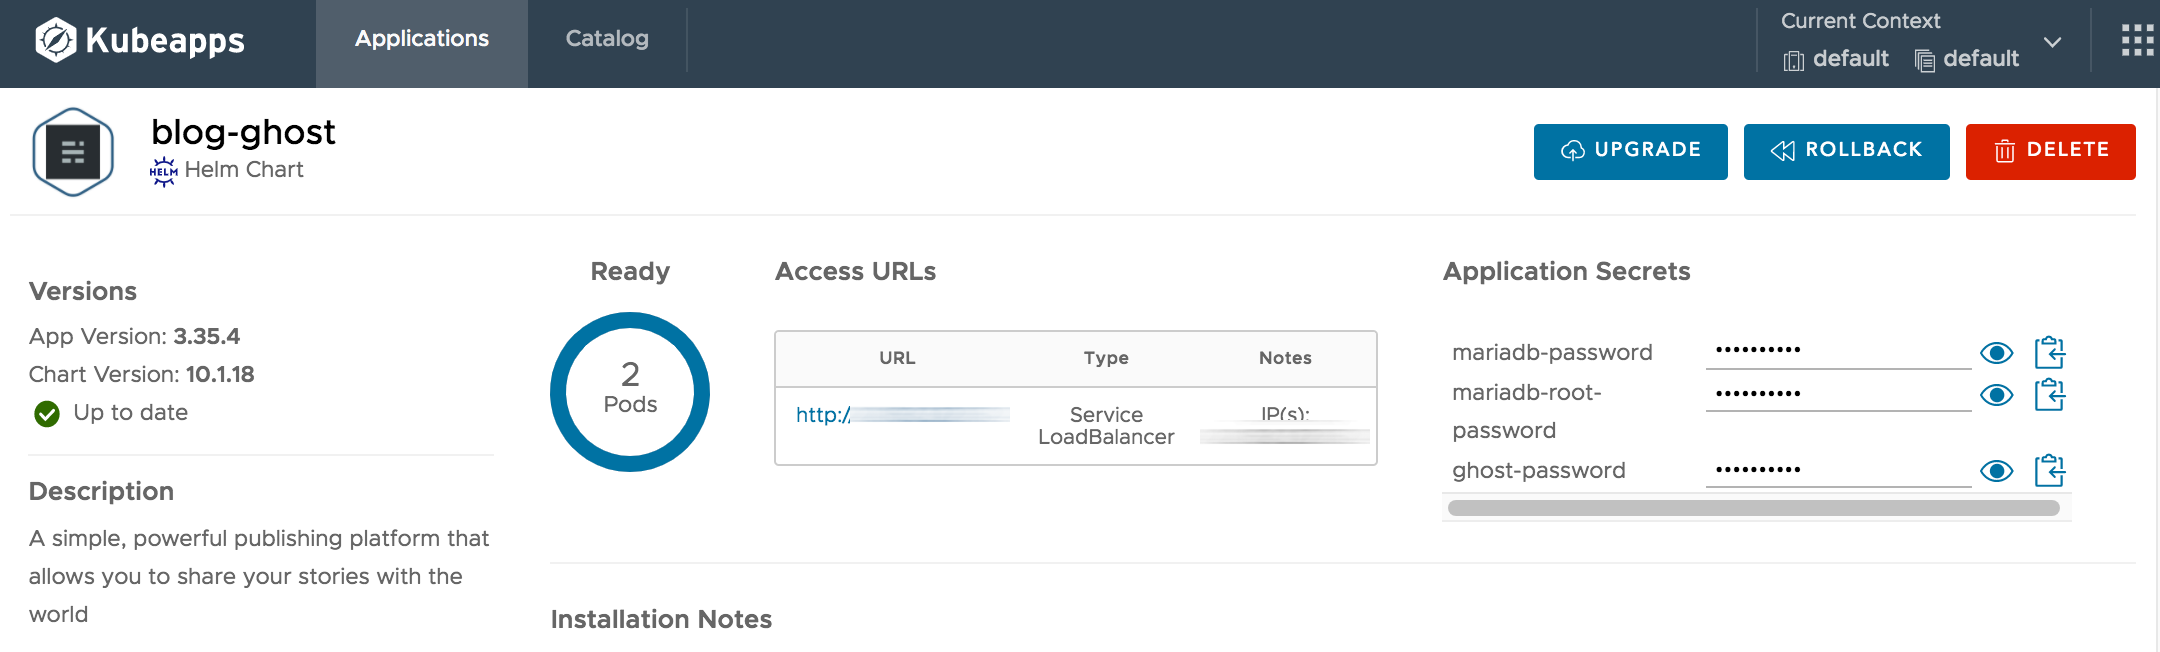
Once the chart is deployed, you can see all the deployment details, including the URLs to access the application.
By default, Ghost creates a Service with LoadBalancer type to provide an externally accessible URL for its web interface. Depending on your cloud provider of choice, the load balancer can take some time to provision and will stay in a “Pending” state until it is available. If using Minikube, you will need to run minikube tunnel in a new terminal window in order for an IP address to be assigned.
After some time, the URL should be visible in the Access URL table. Once it is visible, click one of the URLs shown to access your freshly deployed Ghost blog.