Develop and Publish an ASP.NET Web Application using Bitnami Containers
Vikram Vaswani
Docker containers have become increasingly popular amongst developers on account of their ease of use, consistency and portability. For .NET developers looking to develop and publish applications using containers, Bitnami offers a number of options:
- Bitnami’s .NET SDK container provides the complete .NET SDK for application development;
- Bitnami’s .NET container provides the .NET runtime environment for application execution;
- Bitnami’s ASP.NET Core container provides the ASP.NET runtime environment for application execution.
All of these images are secure, optimized and up-to-date, enabling .NET developers to use them in daily development without being concerned about missing out on the latest language features and security fixes.
This guide gets you started with Bitnami’s .NET containers, by using them to create a sample ASP.NET Web application and publish it as a container image to Docker Hub.
Assumptions and Prerequisites
This guide focuses on creating a Docker image of a custom ASP.NET Web application using Bitnami’s ASP.NET Core container image. In case you don’t have an ASP.NET Web application at hand, the first step of this guide shows you how to create one.
This guide makes the following assumptions:
- You have a Docker environment installed and configured. Learn more about installing Docker.
- You have a Docker Hub account. Register for a free account.
- You have a basic understanding of how containers work. Learn more about containers in our YouTube video, on Wikipedia and on ZDNet.
Step 1: Create or obtain the application source code
Note: If you already have an ASP.NET Web application of your own, you can use that instead and skip to Step 2.
The first step is to create a sample ASP.NET Web application which generates a welcome message. If you don’t have .NET installed, an easy way to do this is with the .NET CLI from Bitnami’s .NET SDK container image. This allows you to execute .NET CLI commands using the Bitnami .NET SDK container on your host, exactly as though you had the complete .NET SDK already installed. If you already have a .NET development environment, you can use that instead and skip the Docker commands below.
-
Create a working directory for the application on your local host and make it the current directory:
mkdir myapp cd myapp -
Use the following Docker commands to create and start a Bitnami .NET SDK container on your host:
docker create --rm -v $(pwd):/app --net="host" -t --name dotnetsdk bitnami/dotnet-sdk:latest
docker start dotnetsdk
The -v argument to the first command tells Docker to mount the host’s current directory into the container’s /app path, so that the effects of commands run in the container are seen on the host. The –net=“host” argument tells Docker to use the host’s network stack for the container, and the –rm argument removes the container once it exits. The container is named dotnetsdk.
Once the container is running, connect to the container console with the command below. This will give you a command shell and allow you to use the .NET SDK tools available in the image for subsequent tasks.
docker exec -it dotnetsdk bash -
Install the ASP.NET Web application templates and then use the .NET CLI to create a skeleton ASP.NET Web application:
dotnet new -i /opt/bitnami/dotnet-sdk/templates/3.1.3/microsoft.dotnet.web.projecttemplates.3.1.3.1.2.nupkg cd /app dotnet new webapp -
Modify the application’s default welcome page:
sed -i 's/Welcome/Hello from Bitnami/g' Pages/Index.cshtml -
Run the application:
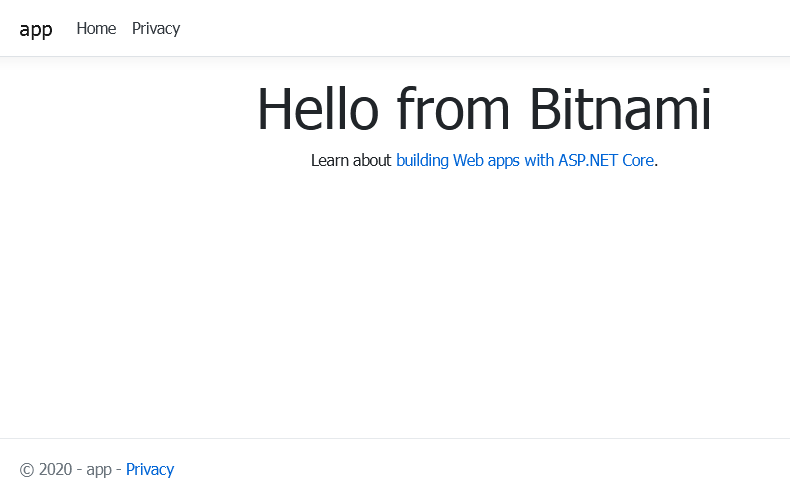
dotnet run --urls=http://0.0.0.0:5000This will run the ASP.NET Web application on port 5000 and allow it to accept incoming connections from other hosts. To test it, browse to http://DOCKER-HOST-ADDRESS:5000/, where DOCKER-HOST-ADDRESS is the IP address of your host, and confirm that you see the modified welcome page shown below:
Note: If the Docker host is a different machine, ensure that the host firewall is configured to allow access on port 5000.
-
Once you have confirmed that the application works, proceed to publish it:
dotnet publishThe published application will be stored in the /app/bin/Debug/netcoreapp3.1/publish/ directory.
-
Exit and stop the container.
docker stop dotnetsdk
Step 2: Build a Docker image of the application
Once you have a published, tested version of your application, you can proceed to build a Docker image for it.
-
Create a file named Dockerfile in the application’s working directory and fill it with the following content:
FROM bitnami/aspnet-core:latest
COPY ./bin/Debug/netcoreapp3.1/publish/ /app/
RUN useradd -r -u 1001 -g root nonroot
RUN chown -R nonroot /app
USER nonroot
WORKDIR /app
CMD [ "./app", "--urls=http://0.0.0.0:5000" ]
This Dockerfile uses the Bitnami ASP.NET Core image as its starting point, because this image contains the ASP.NET framework and files needed to run an ASP.NET Web application.
This Dockerfile begins by copying the published application files from the current directory to the container’s /app directory. It also creates a non-root user account that the application will run under. For security reasons, it’s recommended to always run your application using a non-root user account. Finally, it starts the application on port 5000.
-
By default, the Bitnami .NET SDK container runs as the root user, and the files generated will be owned by root. Change the ownership of the files to the current user so that Docker is able to read and process them.
cd .. sudo chown -R $USER.$USER myapp cd myapp -
Build the image using the command below. Replace the DOCKER-USERNAME placeholder in the command below with your Docker account username.
docker build -t DOCKER-USERNAME/myapp:1.0 .The result of this command is an image containing the application, the ASP.NET framework and all the related dependencies.
Step 3: Test and publish the Docker image
Once you have the application image, you can test it and publish it as follows:
-
Run the new Docker image in a container to test it with the docker run command. Replace the DOCKER_USERNAME placeholder in the command with your Docker account username.
docker run -p 5000:5000 DOCKER_USERNAME/myapp:1.0This command runs the application in a container and maps port 5000 of the container to port 5000 on the Docker host. With this, a user can access the application by browsing to port 5000 of the host. To test it, browse to http://DOCKER-HOST-ADDRESS:5000/, where DOCKER-HOST-ADDRESS is the IP address of your host, and confirm that you see the application welcome page shown previously.
Note: If the Docker host is a different machine, ensure that the host firewall is configured to allow access on port 5000.
-
Log in to Docker Hub and publish the image. Replace the DOCKER-USERNAME placeholder in the command below with your Docker account username.
docker login
docker push DOCKER-USERNAME/myapp:1.0
Once published on Docker Hub, your image is publicly available by default.